|
|
|
|
Date: |
February
10th, 2002 |
| Type: |
Review |
| Supplier: |
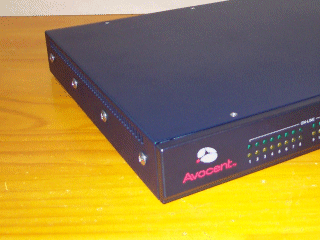
Avocent
|
| Author: |
mayhem |
| |
Setup
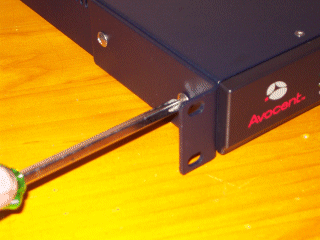
The first thing
you want to decide before setting this unit up is whether or not
you want to put it in a rack along with your servers or separately
somewhere else. If you choose to mount the DSR unit in a rack then
you will need to remove two screws from each side of the unit (either
the front two or back two, depending on which way you want the unit
to sit in the rack) and then screw the two brackets firmly into
place, as shown below.
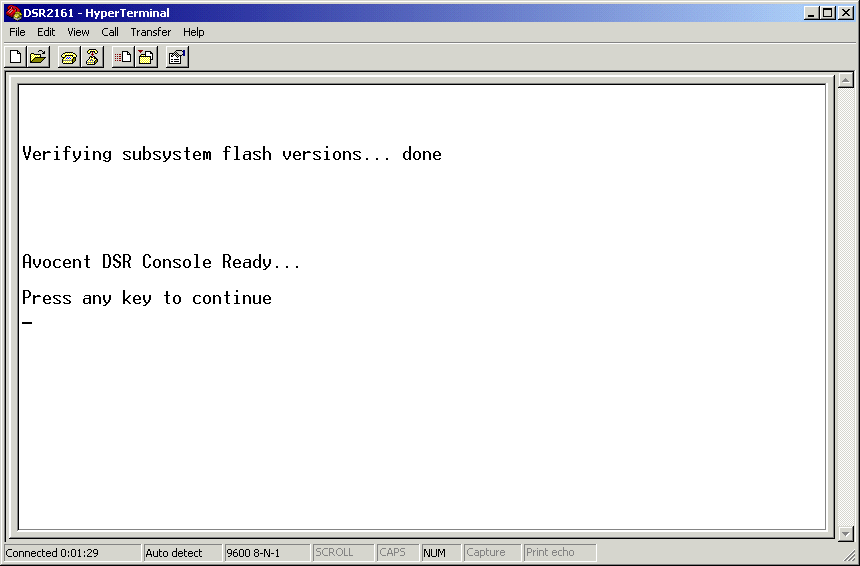
Before you
setup all your servers to connect through the DSR2161 you will need
to configure it, this is done by connecting the null modem cable
to an available COM port on your PC and then connecting it to the
Configuration Port on the back of the DSR unit. Using HyperTerminal
start a new connection called DSR2161 with the terminal set to 9600
baud, 8 bits, 1 stop bit, no parity and no flow control. Once you
have connected the cable then turn on the DSR unit, for about 30
seconds the PWR indicator will flash and then when it stops wait
10 seconds before the pressing ENTER on the Avocent DSR Console.
When the DSR
Console Menu displays you can make the necessary setting changes
to the unit, firstly set your network speed, give the unit and IP
address and enter the Default Gateway, once this is done apply the
settings and wait for the unit to reset itself with the changes.
There
are many other settings which you will need to modify, such as set
a Security Password and then enable all the necessary Security options
that you require.
Console Setup
of DSR2161: DSR
Ready | DSR
Menu | DSR
Save Network Settings (click link to view the images)
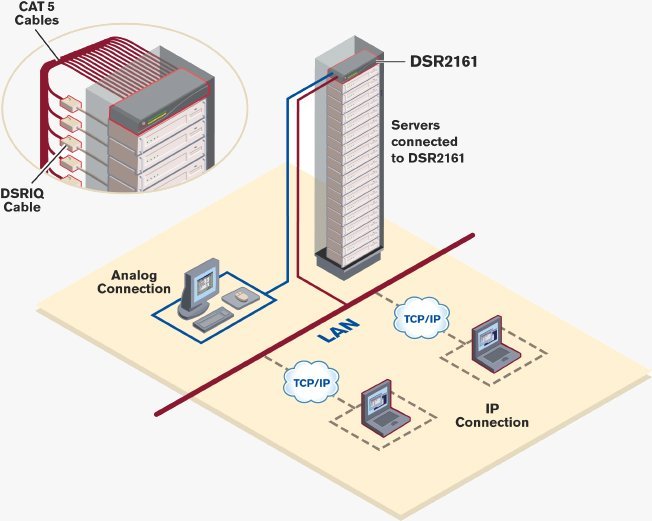
The following
diagram is from Avocent/Cybex and illustrates a typical network
setup using the DSR2161 KVM. In this setup there are 16 rack mounted
servers all connected to the DSR2161 via the DSRIQ and CAT5 cables,
one analog connection (direct) is setup with a monitor, keyboard
and mouse for the server room. There are then two other connections
possible to any of the servers through the DSR2161 unit from any
machine using TCP/IP on the Local Area Network (LAN).
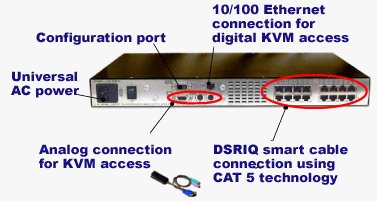
To connect
all the cables to the DSR2161 unit the following diagram explains
what each of the plugs on the back of the unit are used for set
it up.
Once all your
systems are connected to the DSR2161 and ready then all you need
to do is boot up all the systems and then install all the necessary
software as in the User Manual and Quick Install Documentation.
Installation
There are three
main software applications that you must install for the DSR unit,
they are:
DSView
- displays a listing of servers that an individual user can access.
The DSAuthentication Service will check your NT Domain credentials
and provide a list of servers available to you. There is a refresh
option in the event that a new server is added, changed or deleted.
Once you have selected a server from the list, the video of the
selected system will be displayed in a Session Window on the user
monitor. DSView can be installed on any PC running a Win32 platform.
DSAdmin
-is the administrative front end for the DSAuthentication Service.
It controls user information and access levels. DSAdmin can be installed
on the same machine as the DSAuthentication Service or a separate
machine and connect to the DSAuthentication Server through the network.
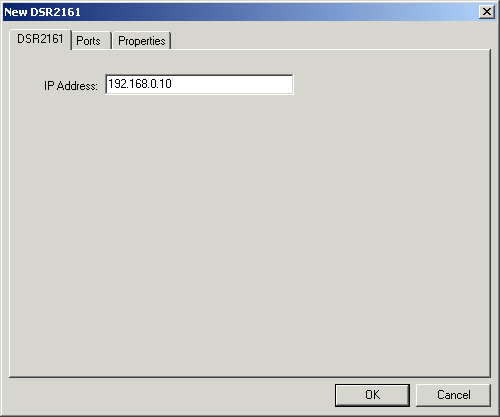
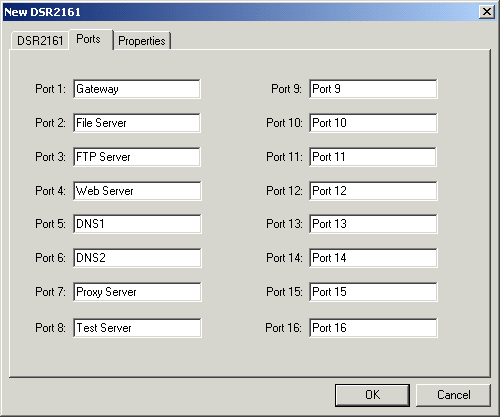
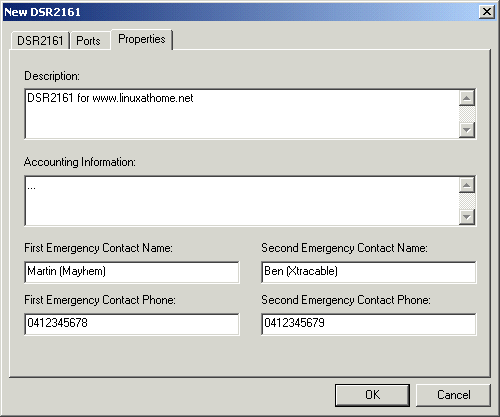
Setting up
a new DSR2161: IP Address
| Port Names
| Properties (click
link to view the images)
DSAuthentication
Server - manages the level of access users have to system
servers as well as the topology and connections for the system.
For each attached computer, the DSAuthentication Service also stores
pertinent system information in a database for easy retrieval by
system administrators. (This requires installation on an NTFS partition)
To convert
a partition (FAT32) to NTFS follow these steps:
- Start ->
Run: cmd
- convert
c: /fs:ntfs
(just substitute c: for the drive you want to convert)
- Reboot your
machine for the process to begin
- Your done
:)
Once they are
installed you will need to set each of them up as necessary to configure
the IP address, setup Port Names and all other custom settings for
your Network and Server configurations.
NEXT:
Testing and Conclusion
|


